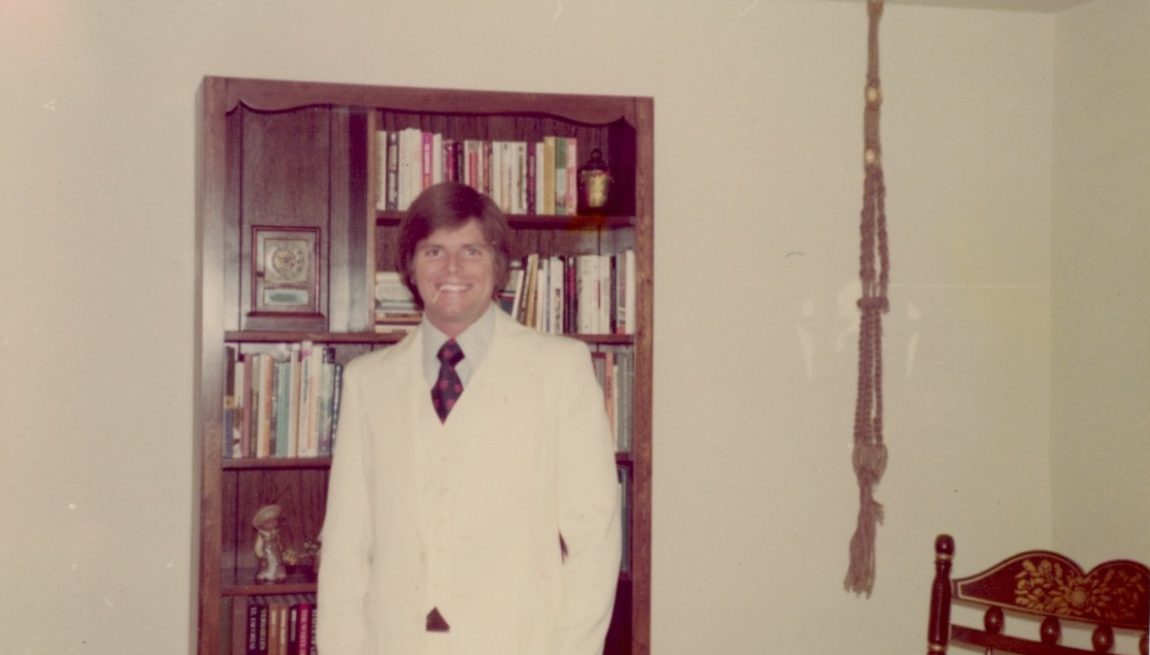
Photo caption: Newlywed Bill in our first apartment in Chicago, 1973. Check out the homemade macrame and bookshelf!
My love of brownies began in September of 1970 when my date, Bill Nelson, and I were in a car wreck on our second date.
He was taken to the hospital in an ambulance with blood all over his gorgeous London Fog pale yellow jacket. I succeeded getting the stains out of his jacket and shirt! I visited him with his clean clothes and a plate of chocolate chip cookies. (BTW, the injuries were minor, a few cuts, stitches to the head & a bit of a bruised ego.)
That’s when I discovered “the way to a man’s heart is through his stomach”!
I was 19 at the time and enjoyed baking! It was time to try my hand at something besides chocolate chip cookies. BROWNIES became my next baking obsession! I found a recipe in 1970 that I have tweaked over the years. They quickly became Bill’s all-time favorite! Needless to say, it was easy to come up with the name, “Billy’s Brownies”! Back then, the secret to the fudgy texture was the addition of a can of Hershey’s syrup!
That recipe card has been gathering dust since my Celiac diagnosis in 2003. Thank goodness Bill loves my G/F Rich & Fudgy Brownies and I hope you will too!
xoxo connie
CONNIE’S GLUTEN FREE BROWNIES
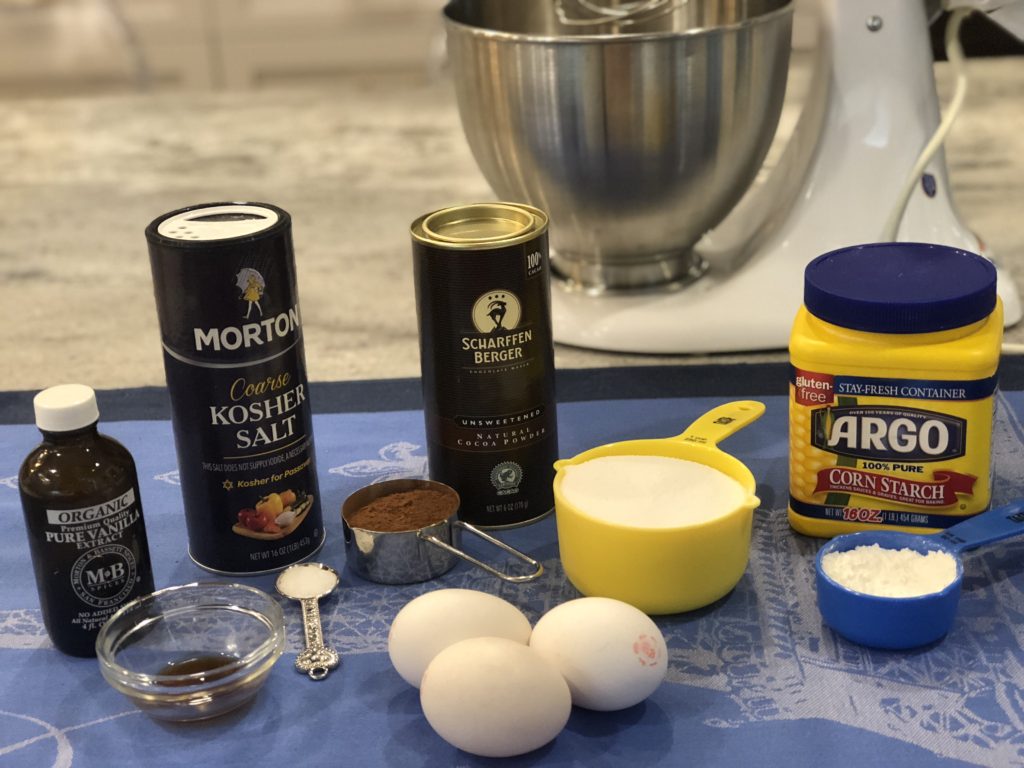
INGREDIENTS:
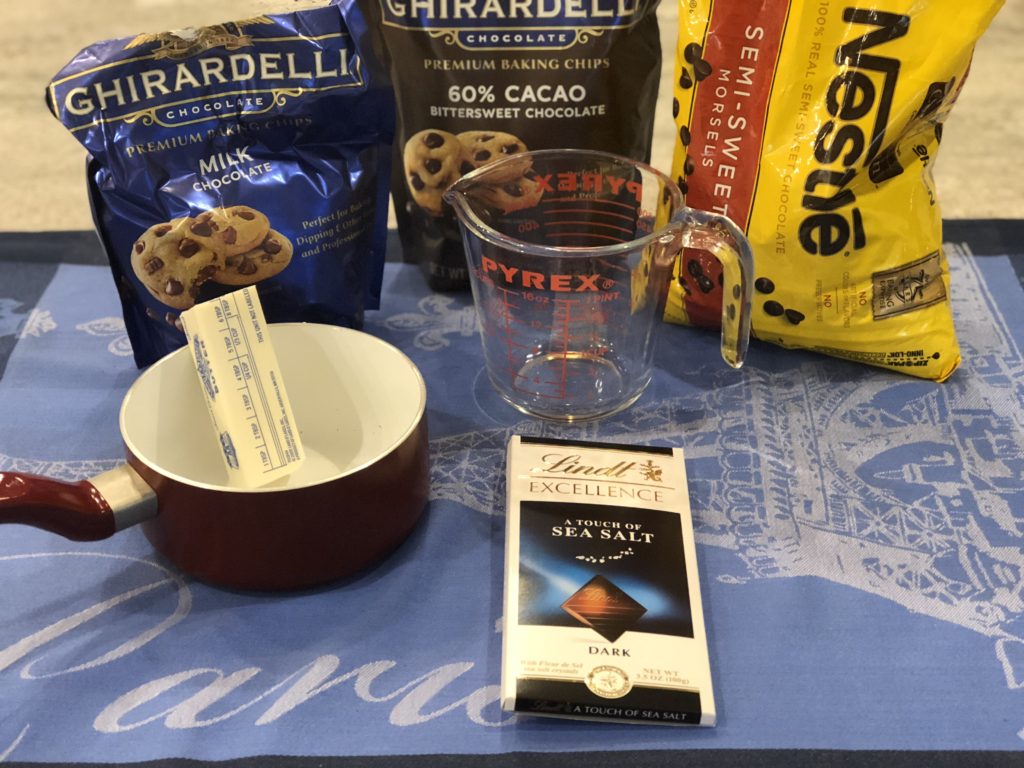
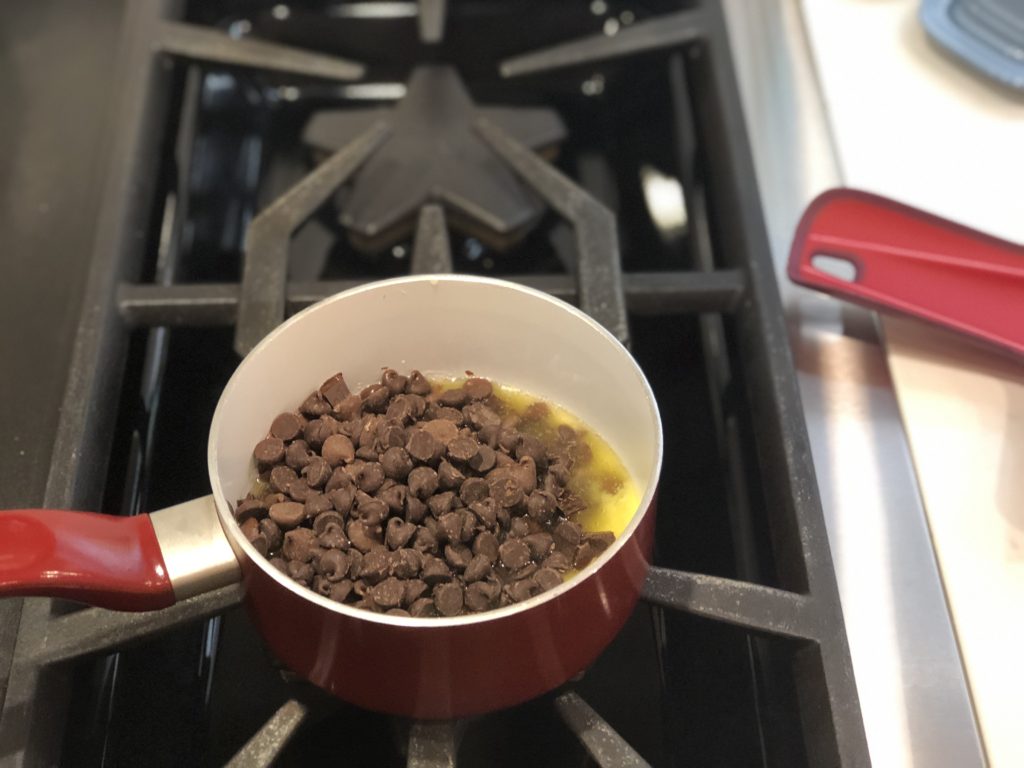
- 6 tbsps unsalted butter
- 8 oz. mixed chocolate chips, dark, milk, semi sweet
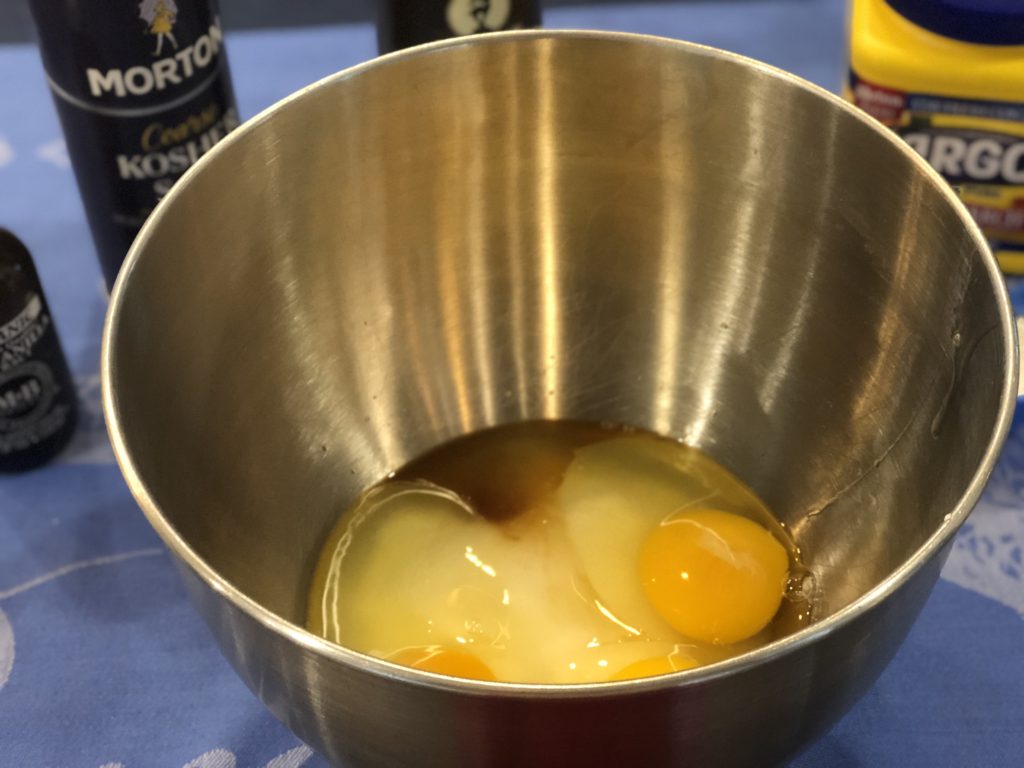
- 2 eggs at room temperature
- ¾ cup sugar
- 2 tsp vanilla
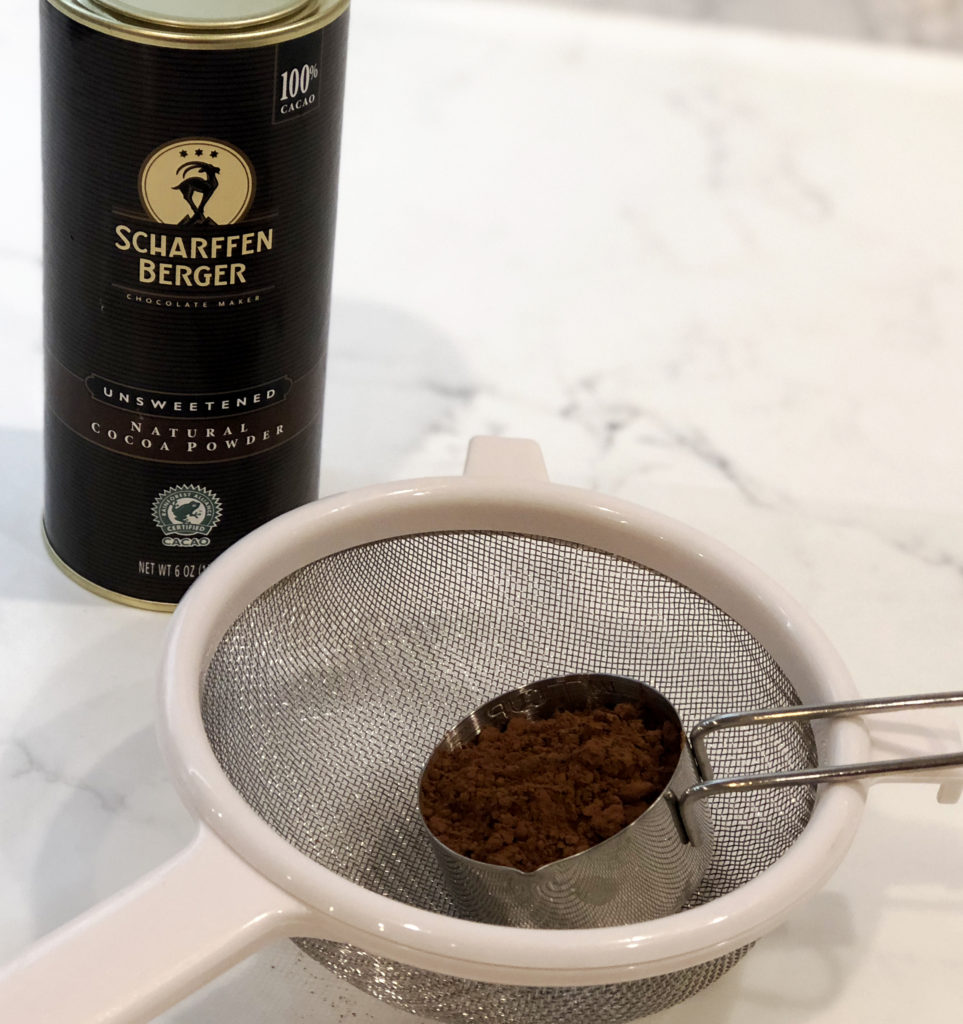
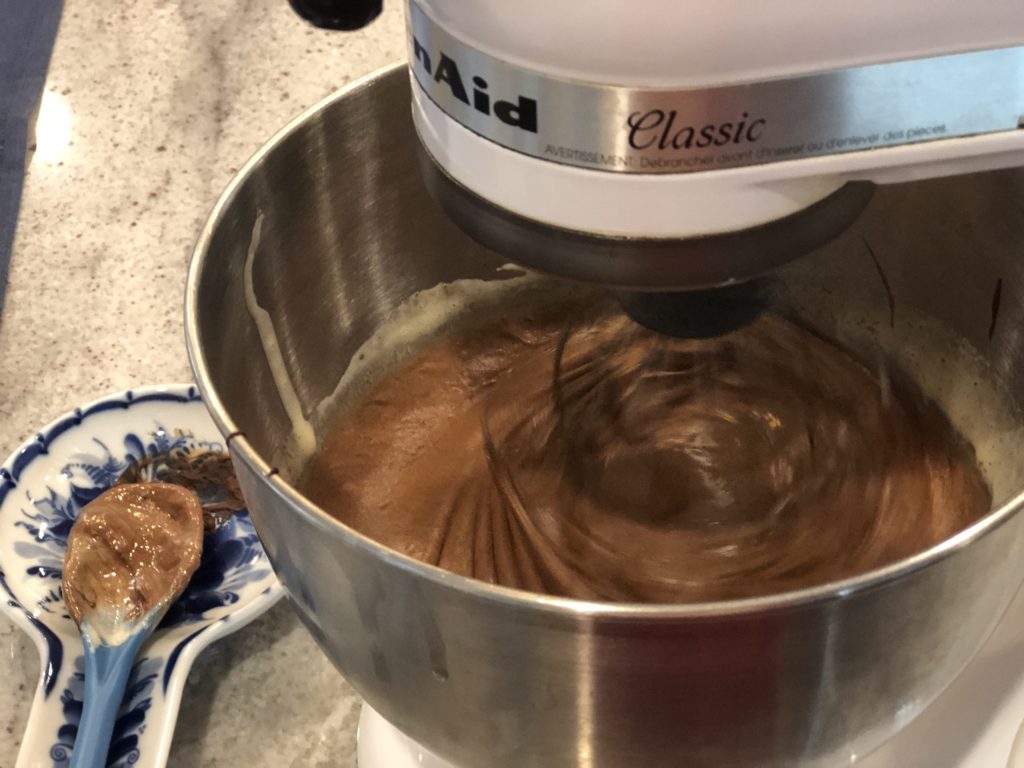
- ¼ cup cocoa powder, sifted
- ¾ tsp Kosher salt
- scant ¼ cup corn starch, sifted
HOW TO MAKE IT:
- Preheat oven to 350. Line 8×8 pan with heavy duty aluminum foil, lightly buttered. Set aside.
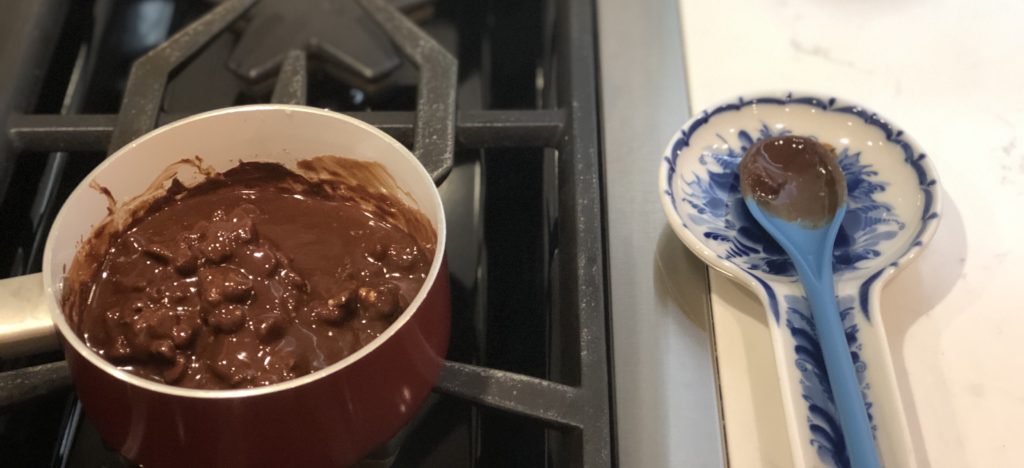
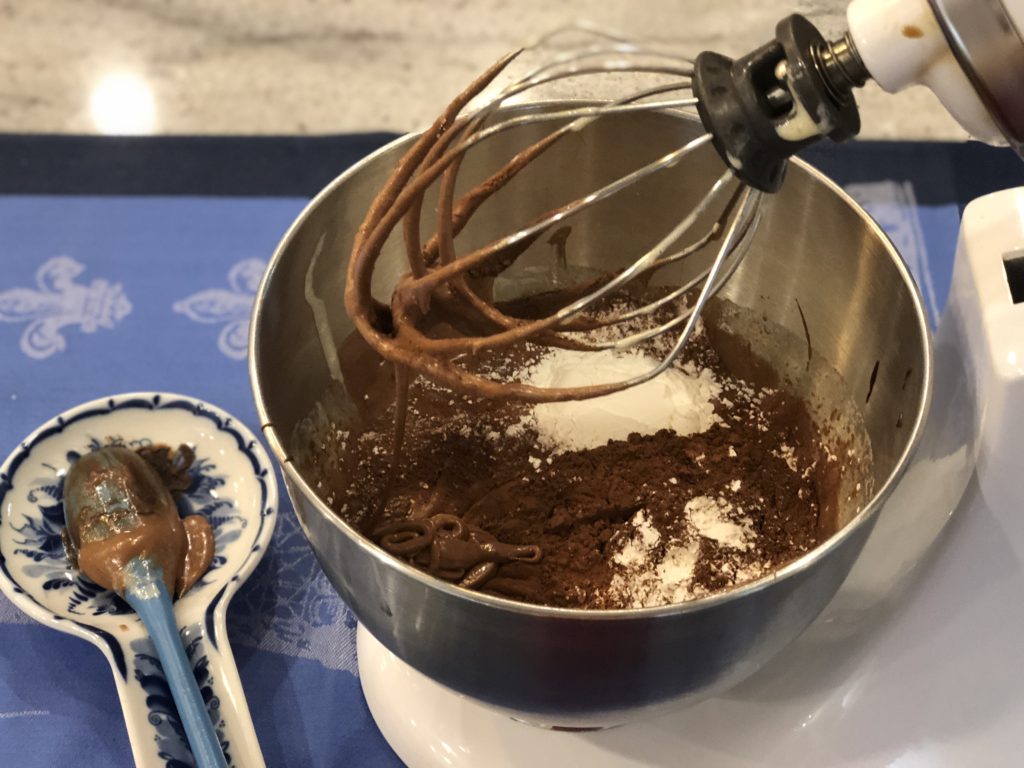
- Melt butter and chocolate mixture in a small saucepan over low heat until smooth. Set aside to cool.
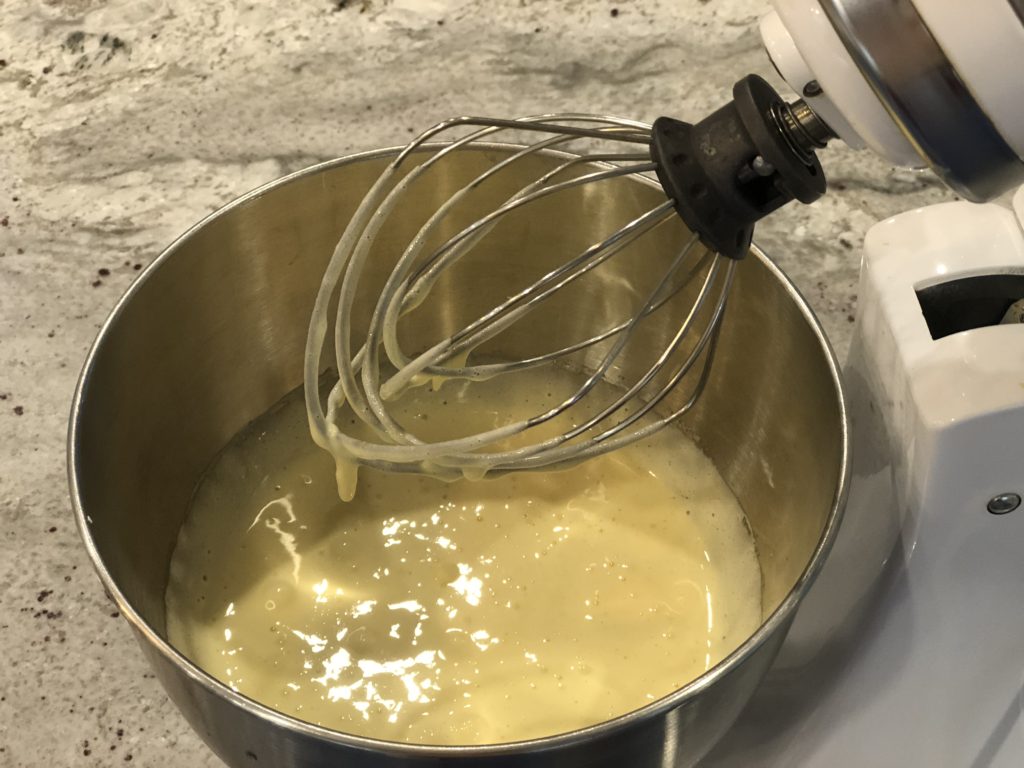
- Use a stand mixer to whisk the eggs, sugar and vanilla until smooth. This should take 2 minutes or less.
- Add cocoa powder, corn starch and salt. Blend until well combined. Scrape down the sides as you go. Add melted chocolate.
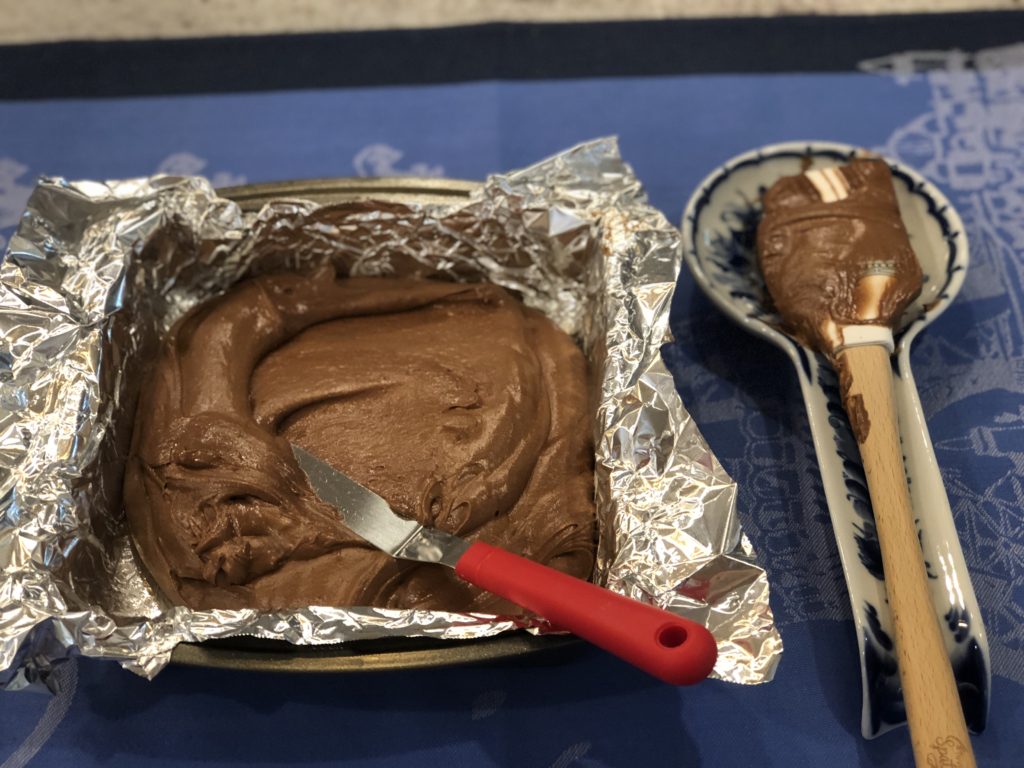
- Pour into prepared pan and smooth out the top with a spreader.
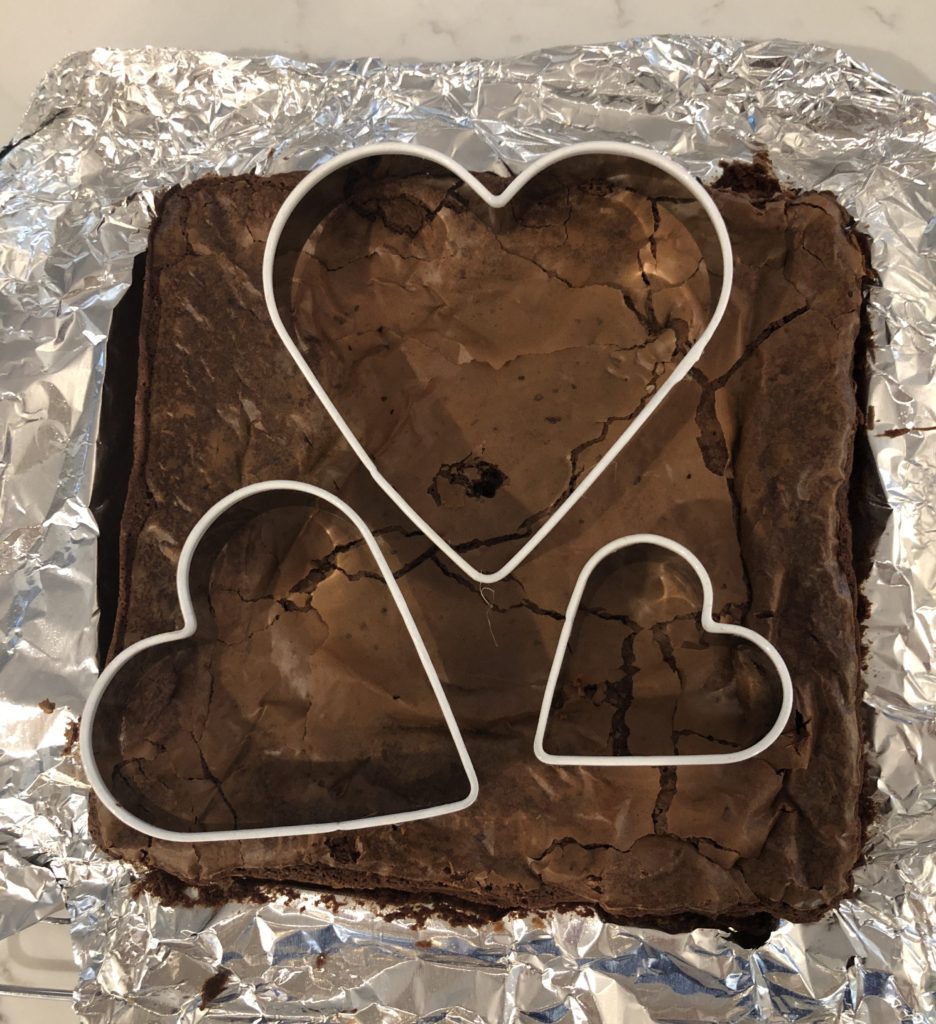
- Bake for 23 – 28 minutes. Check middle with a toothpick. Do not overbake. Remember the brownies will continue to bake after coming out of the oven.
- Cool completely in the pan for 10 -15 minutes.
- Carefully remove by lifting foil “handles” and continue cooling on a wire rack.
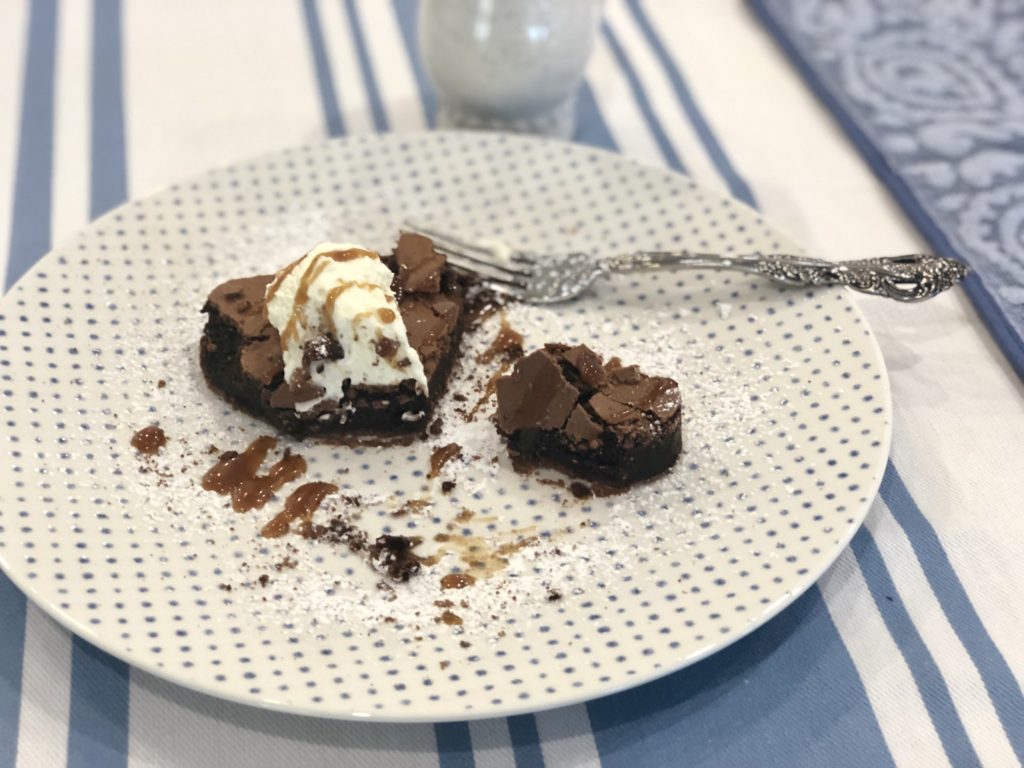
There are so many different ways to serve these brownies: Serve with Connie’s caramel sauce, powdered sugar, raspberry coulis, whipped cream, vanilla bean ice cream, chocolate sauce.
One more thing, don’t forget to add these brownies to your breakfast bowl. It will make your mornings so special, you’ll get up extra early!
ENJOY A LITTLE TASTE OF HEAVEN RIGHT HERE IN AUSTIN, TEXAS
xoxo
connie
Scroll through the pictures to see my steps, or scroll to the end and watch the quick video Kristin & I made!