There’s just something about Valentine’s Day & Red Velvet Cake, right? Cake balls are always a popular treat, especially when it’s red velvet cake balls dipped in white or dark chocolate & decorated with Valentine sprinkles.
Voila! G/F Red Velvet Cake Pops
The gluten free Red Velvet Cake recipe starts below, followed by pics and steps to making this delicious and pretty Valentine treasure.
Let’s get started!
INGREDIENTS for the Red Velvet Cake:
- 1 3/4 cups Cup4Cup flour
- 3/4 tsp. salt
- 1/4 cup cocoa powder
- 1 1/2 cups sugar
- 1 1/2 cups oil
- 1 cup buttermilk or make your own with 1 tbsp. lemon juice in 1 cup of milk; let stand 5 minutes
- 2 large eggs
- 1 tsp. vanilla extract
- 1/4 tsp. red food dye powder or 1/2 tsp red gel-paste food dye
- 1 1/2 tsps. baking soda
- 2 tsps. vinegar
HOW TO MAKE IT:
1. Heat oven to 350°F. To make red velvet cake for Connie’s trifle dessert, you can use a greased 9×13 pan. Otherwise, butter or spray two 9” round pans.
2. In a medium bowl, whisk together flour, salt, and cocoa; set aside.
3. In the bowl of an electric mixer fitted with the paddle attachment, combine the sugar and oil, and beat on medium speed until well combined. Add eggs, one at a time, beating well after each addition. Add food dye and vanilla, and beat until well combined. Add flour mixture, alternating with buttermilk, scraping the sides of the bowl with a rubber spatula as needed.
4. In a small bowl, mix baking soda and vinegar until combined. Add to batter, and beat for 10 seconds. Evenly divide batter between the prepared pans. If making cupcakes, filling each cup about 2/3 of the way up. You may use an offset spatula to smooth down the batter into the liners.
5. Bake for 35-40 minutes until a toothpick comes out clean. Cool cake(s) in the pans for 10 minutes. Remove cakes from the pans, and transfer to a wire rack to cool completely.
HOW TO MAKE THE CAKE POPS:
First, make the cake balls:
You’ll need:
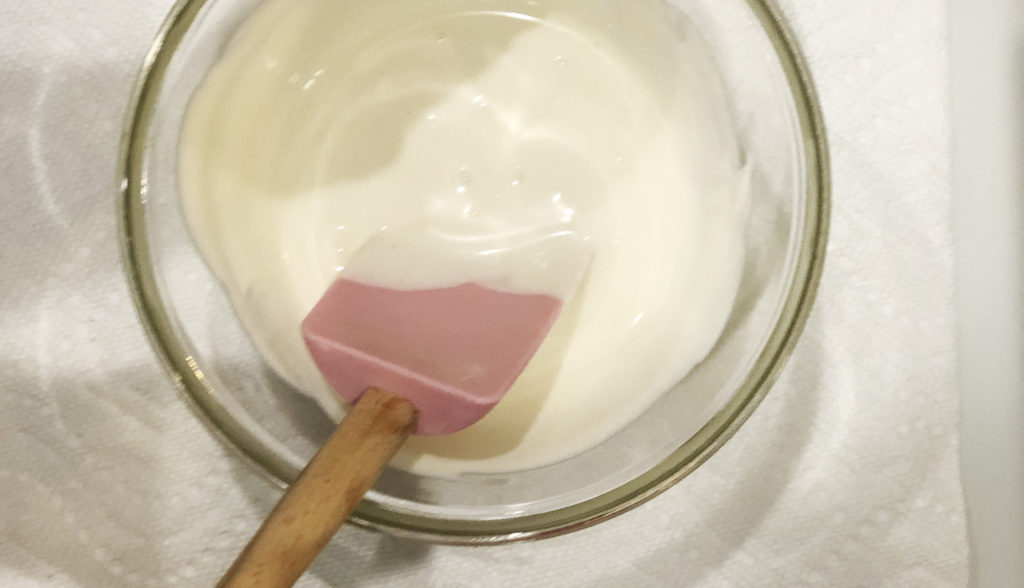
- Cream cheese icing (if you don’t have time to make it, buy the store bought icing)
- Cooled Red Velvet Cake, crumbled into pieces
How to make the pops:
- Cool cake.
- Add cream cheese icing to the crumbles just a little bit at a time. You’ll know you have enough icing (aka the “glue”) when the ball is firm and no longer crumbles.
- Place balls on a cookie sheet & freeze 15 minutes.

Adding the stick & dipping:
- White and / or dark chocolate melting wafers
- Lollipop sticks (red & pink would be extra fun!) I bought mine at Michaels, link HERE.
- Valentine sprinkles
DIRECTIONS:

First, melt white chocolate in the microwave at 15 second intervals, stirring well. Be careful…chocolate burns easily in the microwave. When melting dark chocolate, stir at 30 second intervals until smooth.
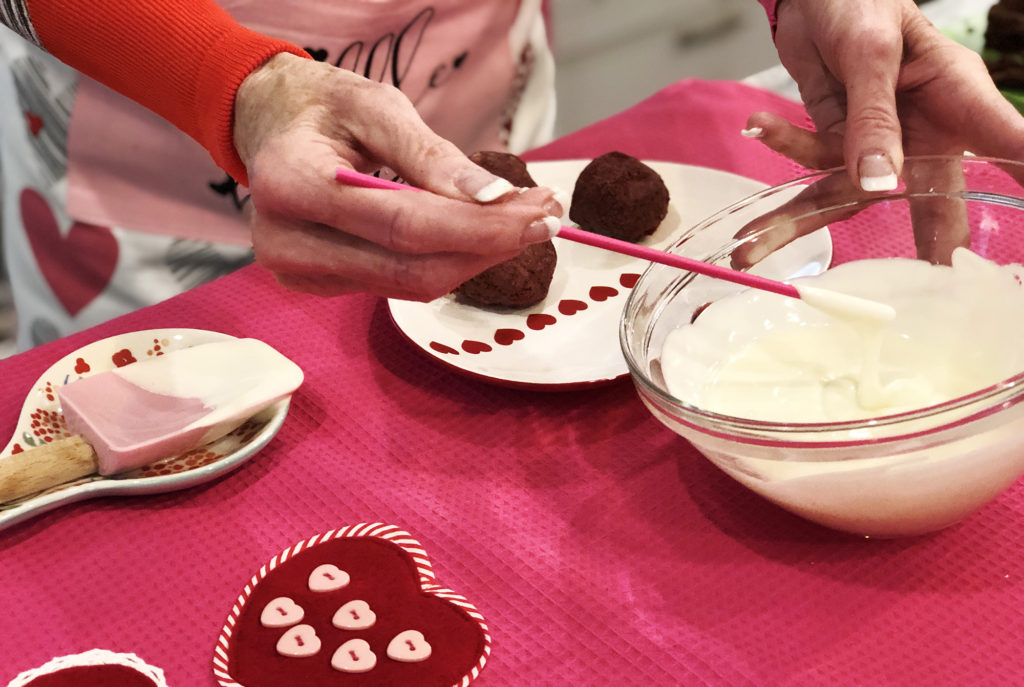
Next, dip the cake pop stick into the melted chocolate
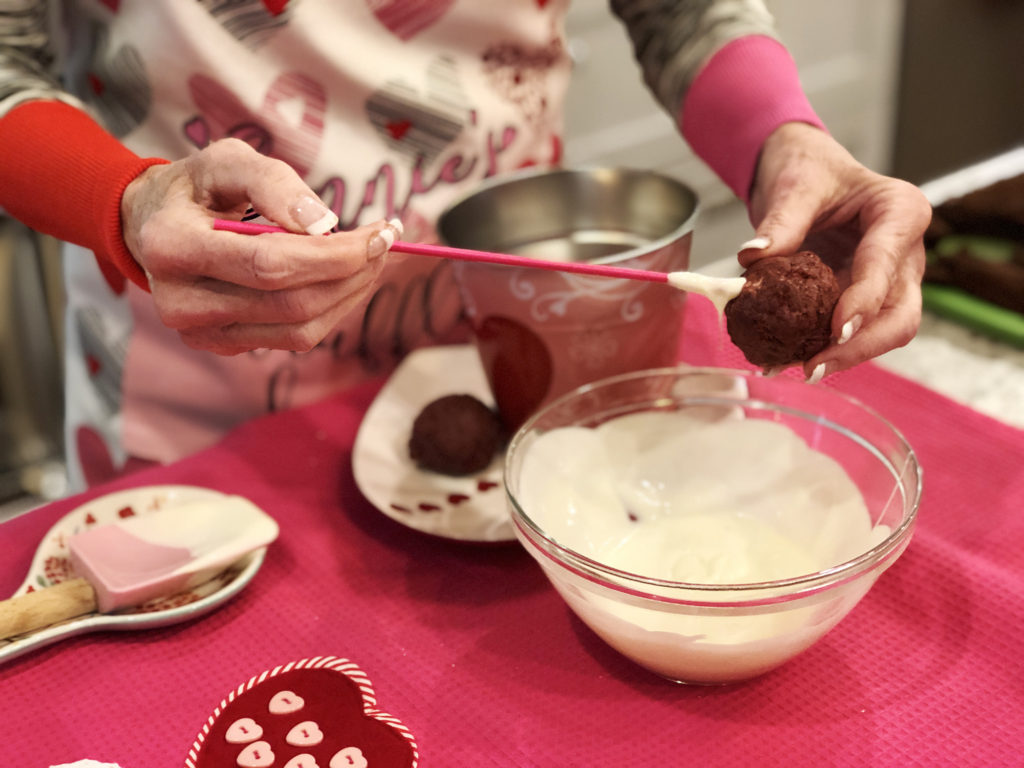
Then, insert the stick into the cake ball (which has been frozen & slightly thawed)
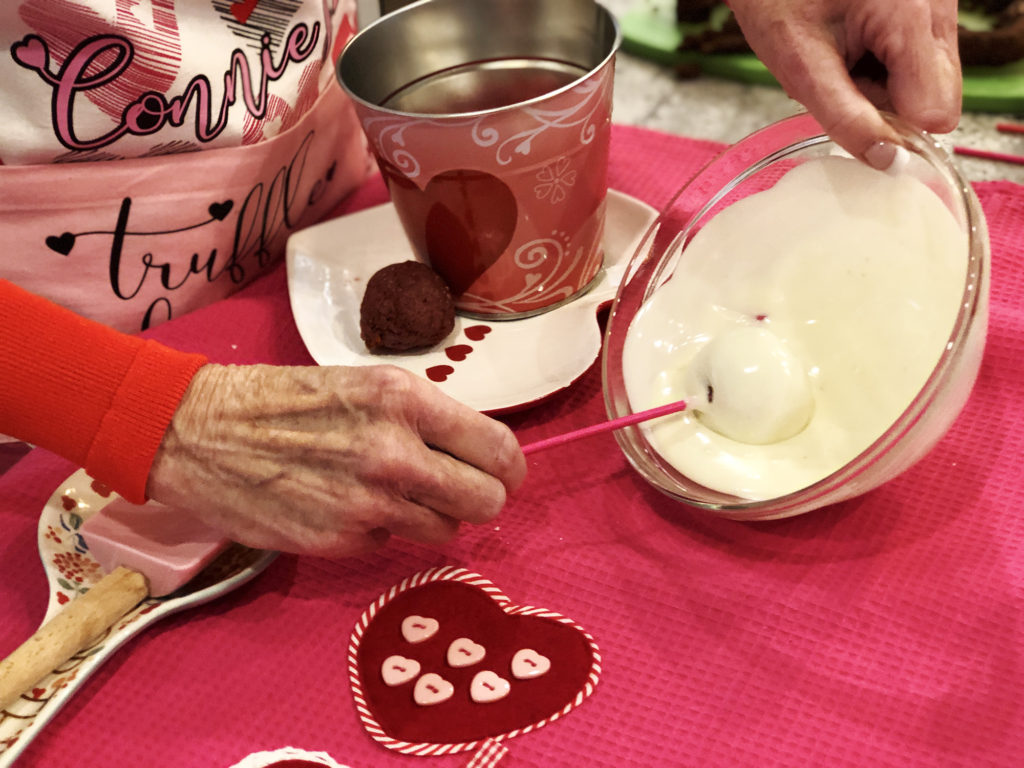
Finally, dip the cake ball into the melted chocolate coating evenly. The chocolate dries quickly, so you will need to have your sprinkles close by to shower the cake pop in sweetness before the white chocolate dries.
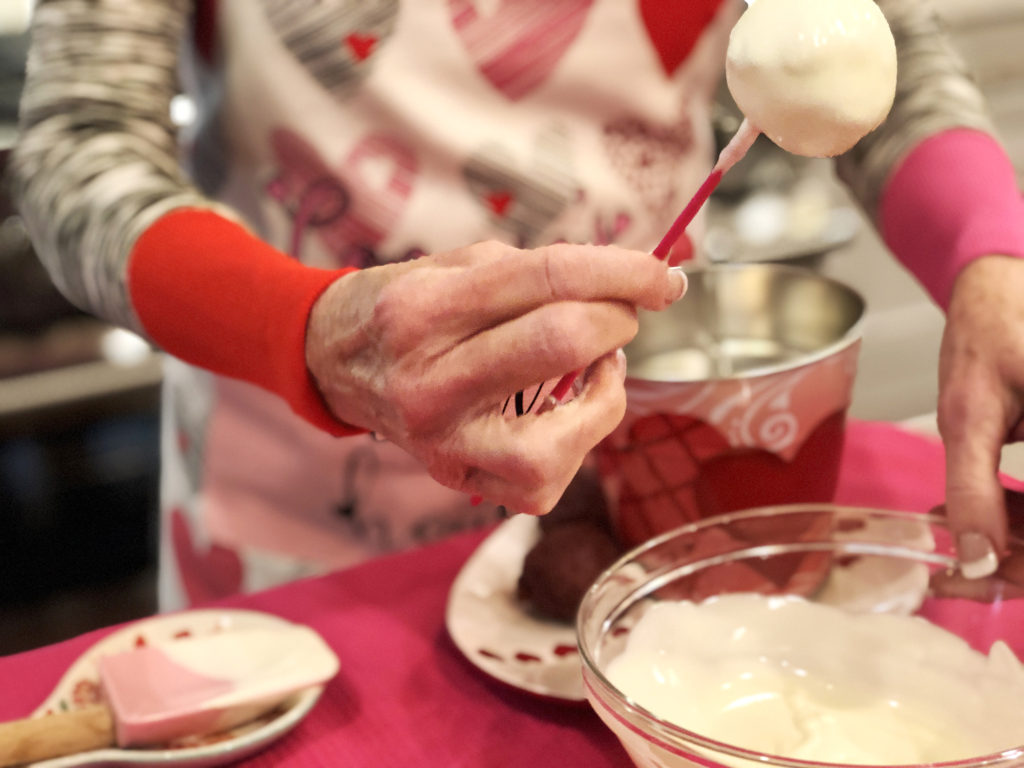
If your white chocolate covered pop dries before you’re ready to add sprinkles, don’t fret! Solid white cake pops pair nicely with sprinkled covered cake pops on your display.


VOILA!
Beautiful Valentine Cake Pops displayed in a “custom made” Valentine Gift Box. The kids will love making this “cake pop display”. Pick up a block of styrofoam, Valentine paper (solid or print) & ribbon. Wrap the styrofoam with the paper, tie a bow & VOILA! You’re ready to display your beautiful cake pops!

ENJOY A LITTLE TASTE OF HEAVEN
RIGHT HERE IN AUSTIN, TEXAS!