


 cake and VOILA!! Cake balls ready to freeze. :)")


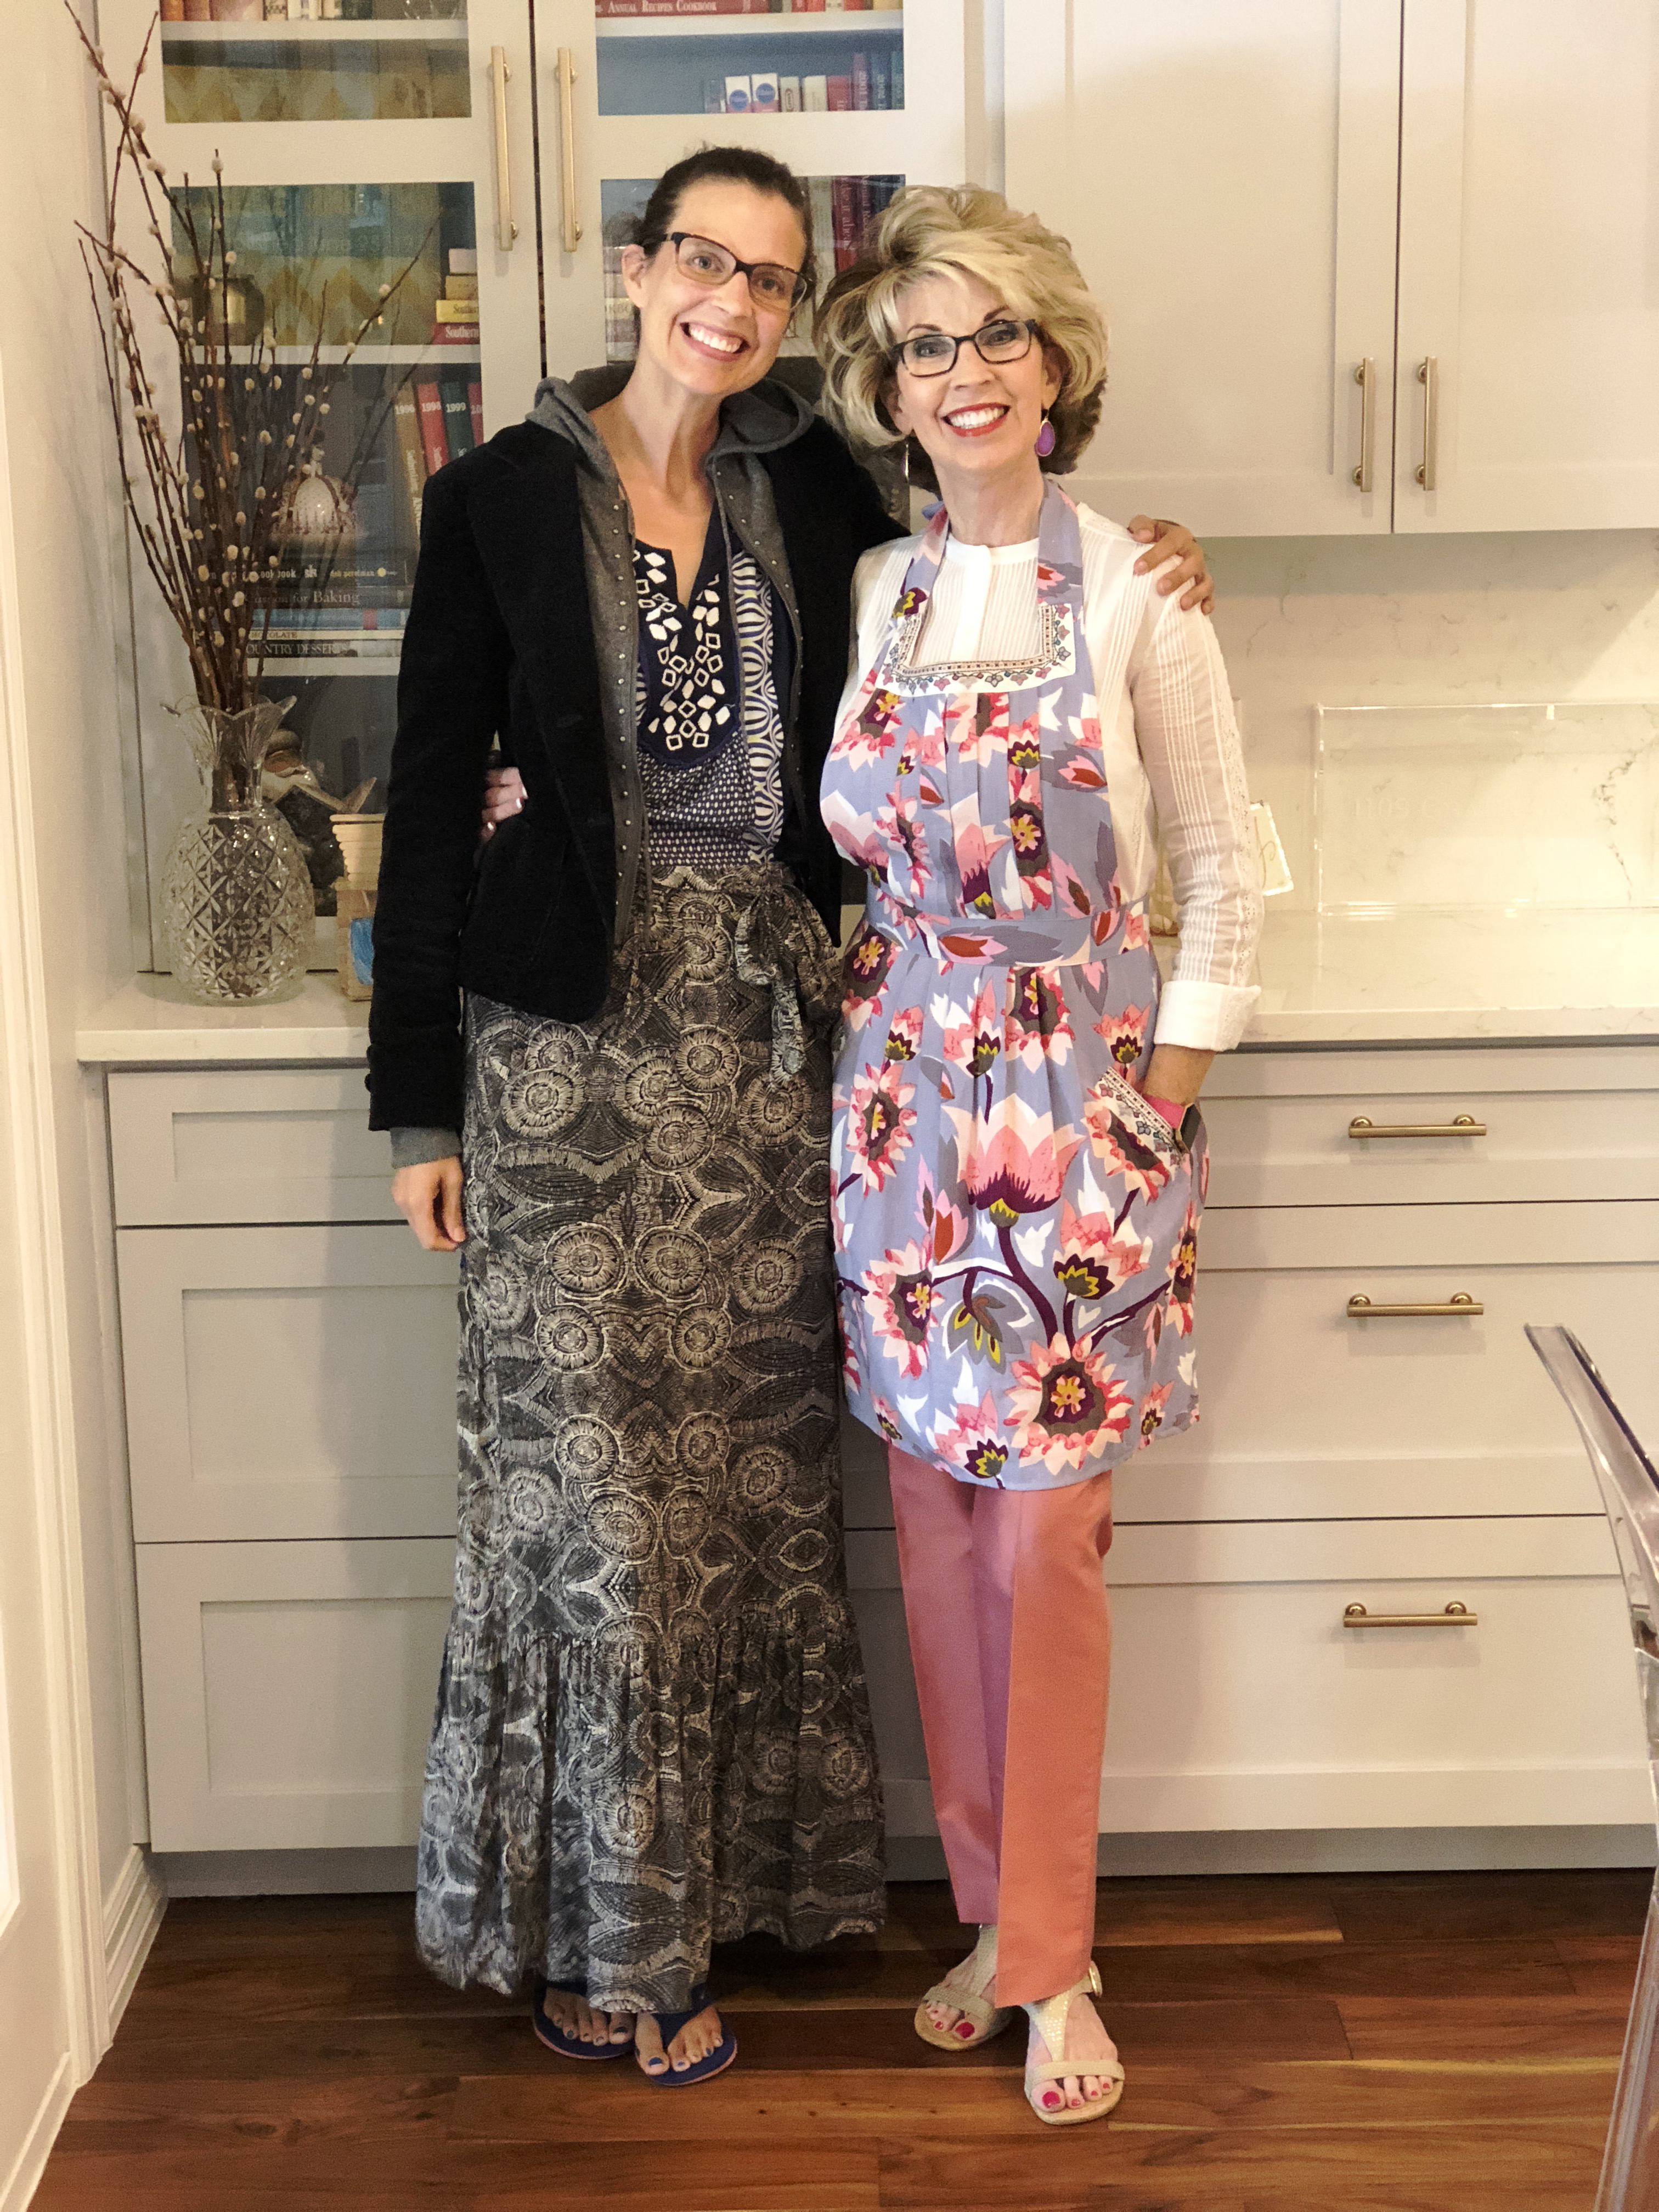
Hey Y’all,
I have a real treat for my gluten free friends who would like to make a yummy g/f cake! This is my go-to Buttery Cake for making cake balls! It’s denser than “regular” cake, but great for a special occasion or for my fave thing: CAKE BALLS!
I actually did a test taste with a dear friend. I asked him to taste test one of my G/F Buttery Cake Balls and a Gluten Cake Ball. He said they were both delicious and thought the denser may be G/F, but enjoyed the flavor of both equally! I know…it’s not a scientific test, but I trust his opinion!
So, all you need is my go-to Cream Cheese Frosting recipe which is the “glue” to form the cake balls.
Here you go…
CREAM CHEESE FROSTING
- 1 8oz. package cream cheese, softened
- ½ cup butter, softened
- 1 16 oz. box powdered sugar
- 1 cup chopped pecans, toasted (Optional)
- 1 1/2 tsps. vanilla
- Beat cream cheese and butter at medium speed until smooth.
- Gradually add powdered sugar, beating until light and fluffy.
- Stir in vanilla. Pecans are great, but may not work well for cake balls.
DELICIOUS!
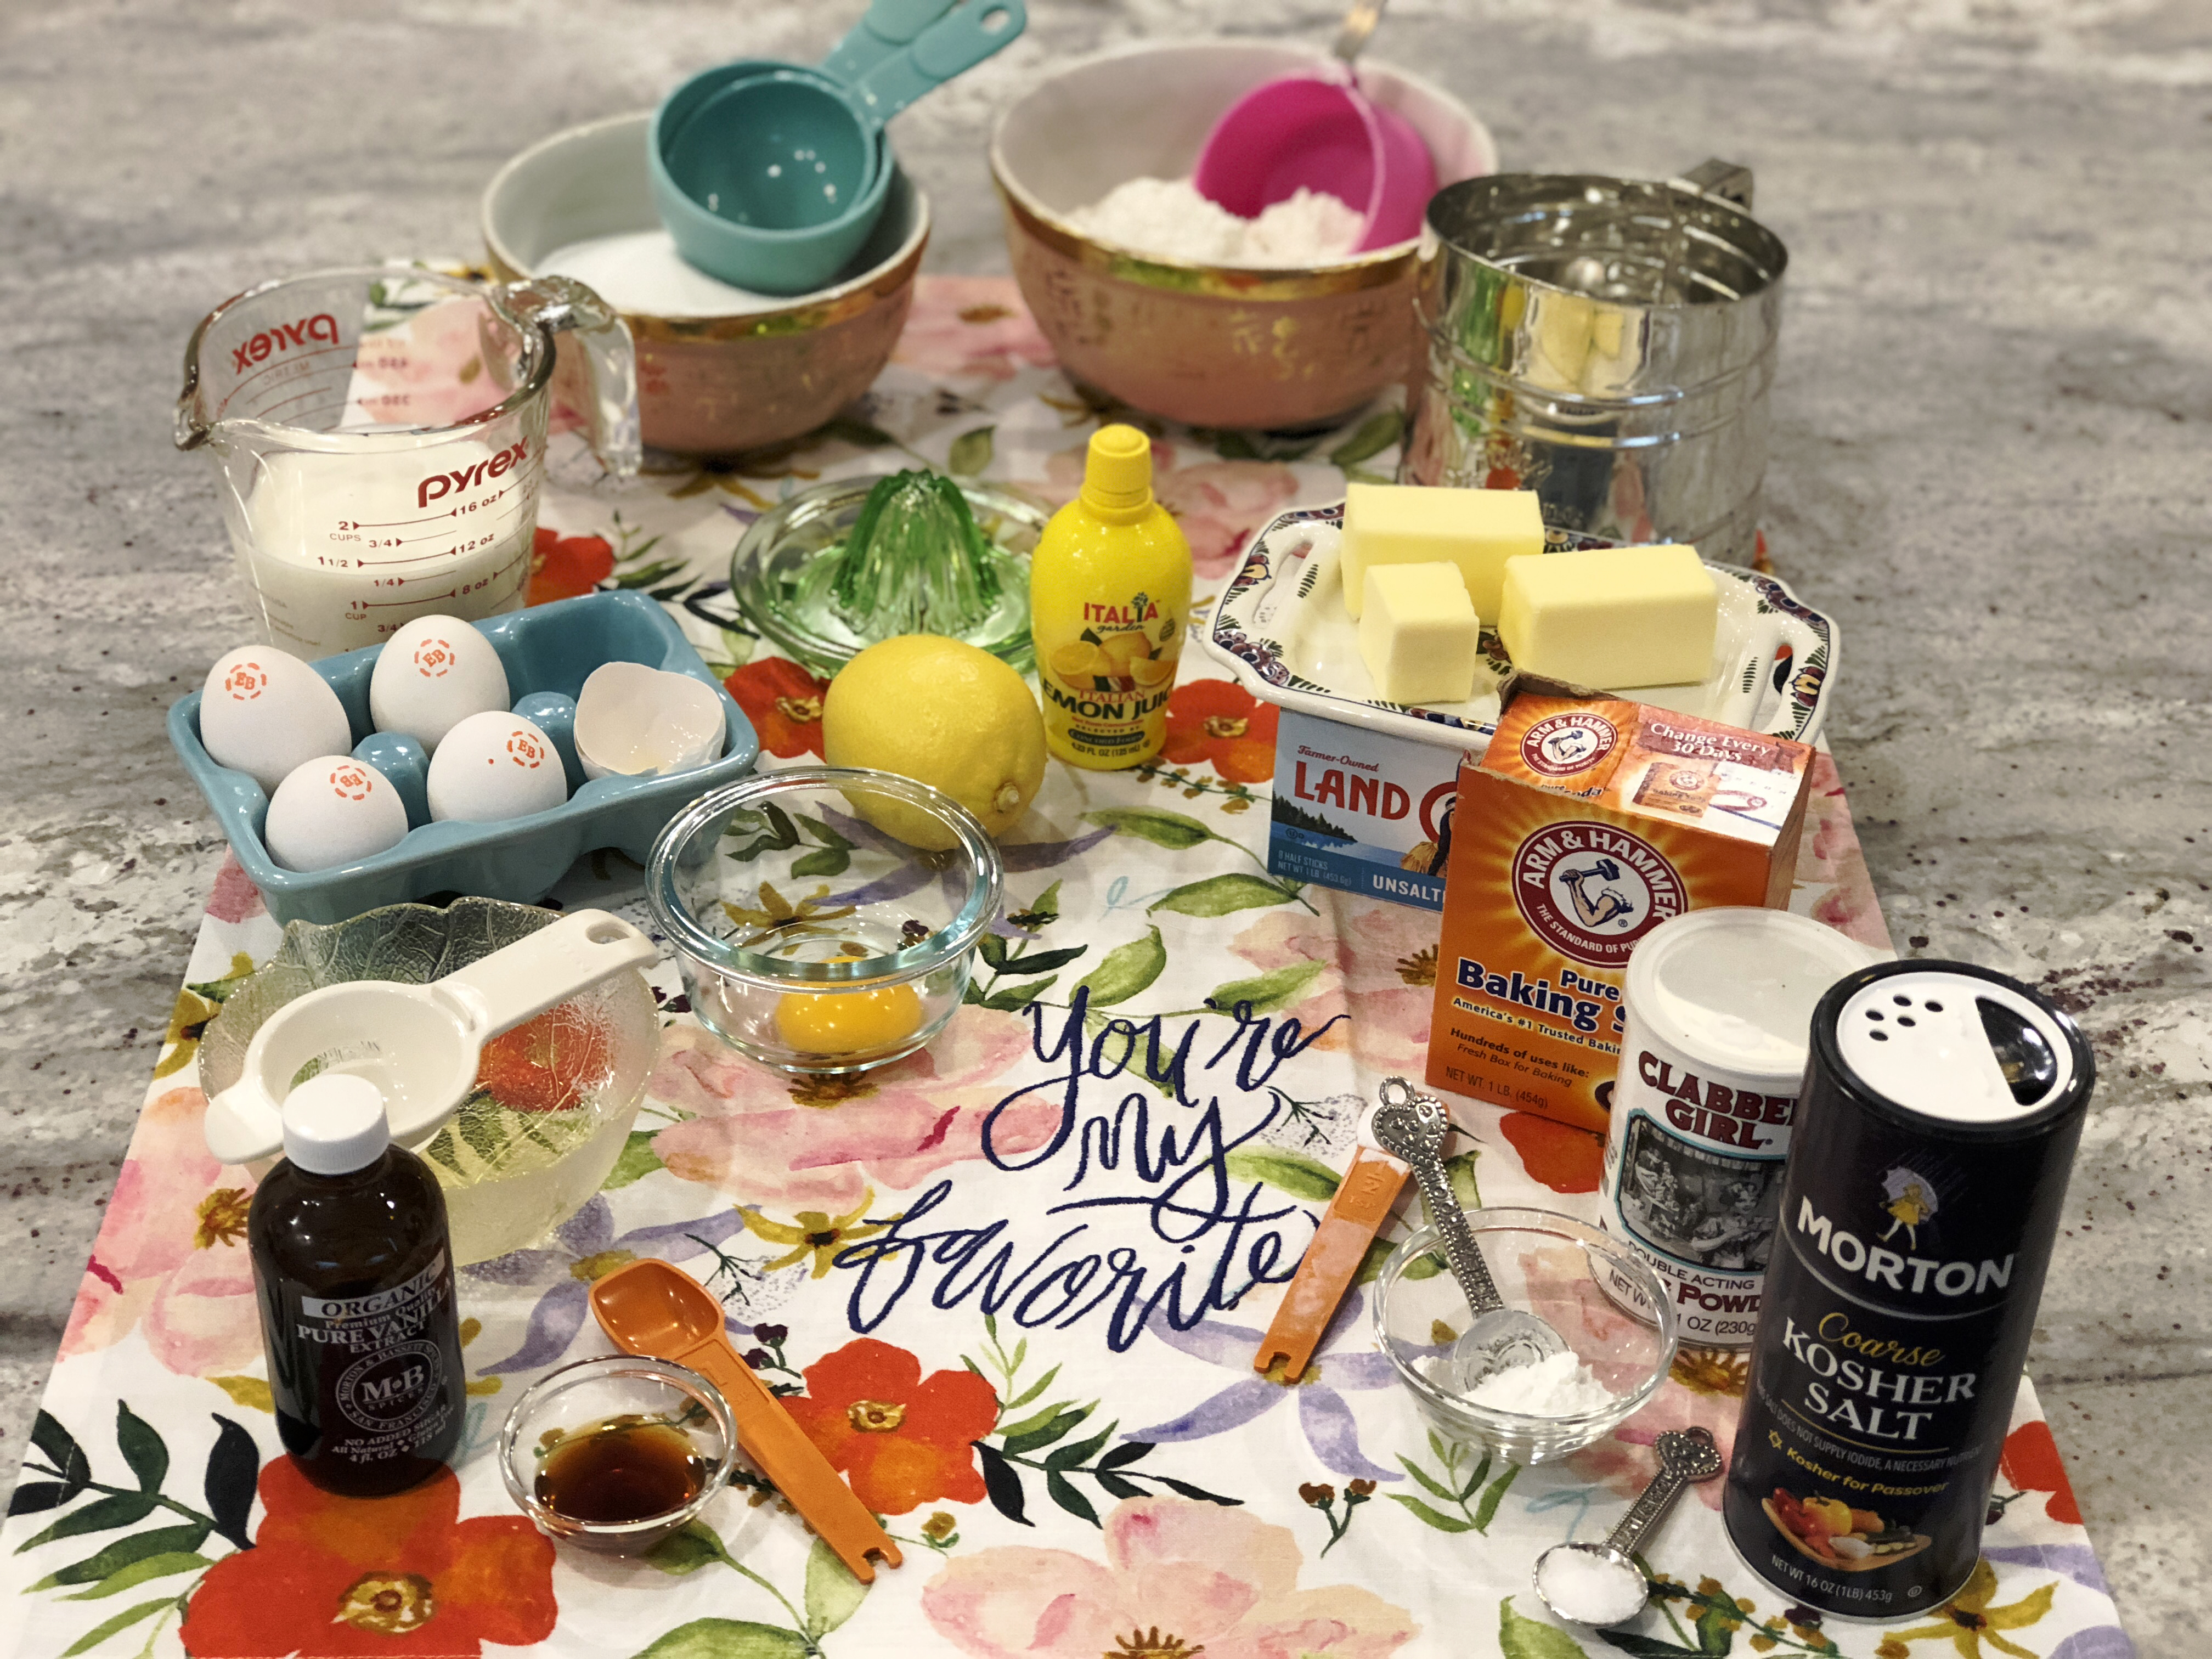
Now, all you need to do is make Connie’s Buttery Cake! I know it looks like a lot of ingredients, but once you get everything out and ready to go, it’s not difficult at all.
CONNIE’S BUTTERY CAKE! Great for Cake Balls & GLUTEN FREE!
INGREDIENTS:
- 2 ½ (scant ½) cups of Cup to Cup G/F Flour, sifted! (I like Williams Sonoma)
- ½ tsp. kosher salt
- ½ tsp. baking soda
- 2 tsps. baking powder
- 1 stick + 2 tbsps butter, unsalted
- 1 ½ cups sugar
- 2 tsp. vanilla
- 4 eggs whites
- 1 whole egg (all eggs need to be room temp)
- 1 ¼ cups + 1 tbsp buttermilk **
HOW TO MAKE IT:
- Preheat oven to 350 degreees. Grease cake pans. You can use 2 – 8 inch square or round pans or a 9×13. Of course, the times will vary, so start checking for doneness around 20-22 minutes for the 8” pans. If using 9 x 13, test around 28 minutes. May take 5 minutes longer. I use the trusty old toothpick test. If it comes out clean in the middle, you’re good to go. It will be more brown around the edges.
- Mix all the dry ingredients into one bowl. Sifting can be a real bore sometimes, but, it’s important to sift dry ingredients together…so please take a few extra minutes and do this. You’ll be glad you did!
- Using a stand mixer with a large bowl, beat the softened butter, sugar and vanilla on medium speed for 3 minutes. Scrape down sides as needed.
- Combine the egg whites, whole egg and the buttermilk in a bowl. **If you don’t have buttermilk on hand, it’s easy to make it using milk (whole or 2%). For this recipe, add 1 tbsp & 1 tsp of lemon juice to the milk. Let it stand for about 5 minutes to allow it to thicken.
- Now, the fun starts! Add a small amount of the dry ingredients to the butter & sugar mixture mixing just enough to coat. Then add small amount of buttermilk mixture and mix briefly. Continue doing this till you’ve used all the dry & wet ingredients…this may take 3 or 4 cycles.
- Scrape the sides and bottoms to get all the good stuff incorporated.
- Then beat the mixture on low – medium to make sure everything has been well combined.
- You’re ready to pour this scrumptious mixture into your prepared pans.
Test for doneness and then cool for 10 minutes on wire racks. Turn out on racks to continue cooling.
TO FORM CAKE BALLS:
- Let the cake completely cool.
- Use your hands (I love wearing surgical gloves to do this) to crumble the cake in a large bowl.
- Start off with a little bit of cream cheese to form the cake balls. Add more if needed. Remember to start with a little…you can always add to, but can’t take away. LOL!
- Mix the crumbled cake & cream cheese frosting until the nice cake ball is formed.
- Put the cake balls in a large air tight container and freeze till firm.
- Before dipping, remove from freezer and put in frig, just to get off the frozen chill. This is important so the dip doesn’t crack after it dries. If the cake balls are to warm, they will crumble into your dip.
PREPARE THE DIP:
- I like Ghirardelli Melting wafers. Wilton Candy Melts are good & come in great colors, especially if the cake balls are for a special occasion. (BTW, don’t use chocolate bars! They are great for baking, but not for dipping / coating.
- Melt the wafers in a microwave friendly bowl. Let the dip slightly cool. If it’s too hot, the dip may crack once the cake balls are dipped & dry. But, no worries…they’ll still be delicious!
- If you want to add sprinkles, do so before the cake balls dry.
- Store in an airtight container in the frig.Serve at room temp.
This is such a fun recipe to do with the kids and g’kiddos! They have a blast forming the cake balls and then decorating. Great for kids’ bday parties. Add a cake ball stick and you have a cake pop! HOW FUN IS THAT?!??!
xoxo,
connie
ENJOY A LITTLE TASTE OF HEAVEN
RIGHT HERE IN AUSTIN, TEXAS!